Knowledge Hub
What to Do After Your OBD2 Scanner Finds a Trouble Code

Your scanner has found a trouble code.
Do not immediately clear it.
And do not immediately buy the part whose name appears in the code description.
The code is the beginning of the diagnostic process.
Use this sequence: save → classify → understand → inspect → test → repair → verify.
That workflow protects useful diagnostic evidence and reduces the chance of replacing good parts.
Step 1: Save the Code Before You Clear Anything
Write down or save the exact DTC, the module that reported it if your scanner shows this, code status where available, all other related codes, freeze-frame data, and relevant scan report/screenshots.
Why first? Because clearing diagnostic information can remove useful evidence. Standardized OBD diagnostic services historically separate requesting DTCs, requesting freeze-frame data, and clearing/resetting emissions-related diagnostic information.
In practical terms: read first, save first, clear later.
Step 2: Save Freeze-Frame Data
Freeze frame is a snapshot associated with a fault event on supported OBD systems. It can provide context such as engine RPM, vehicle speed, coolant temperature, calculated load, fuel trims and other supported parameters.
That can help answer: under what conditions did the fault occur? A problem that appeared during a cold start may lead you in a different direction from one that appeared under heavy load.
Do not treat freeze frame as a diagnosis. Treat it as evidence.
Step 3: Look at All the Codes, Not Just the First One
One code can be important. A group of related codes can be more informative.
For example, multiple faults may share a power supply, a ground, a connector, a network, a vacuum problem, or a common operating condition.
Do not assume the first code displayed is automatically the root cause. Record the complete picture before deciding what to test.
Step 4: Understand Exactly What the Code Says
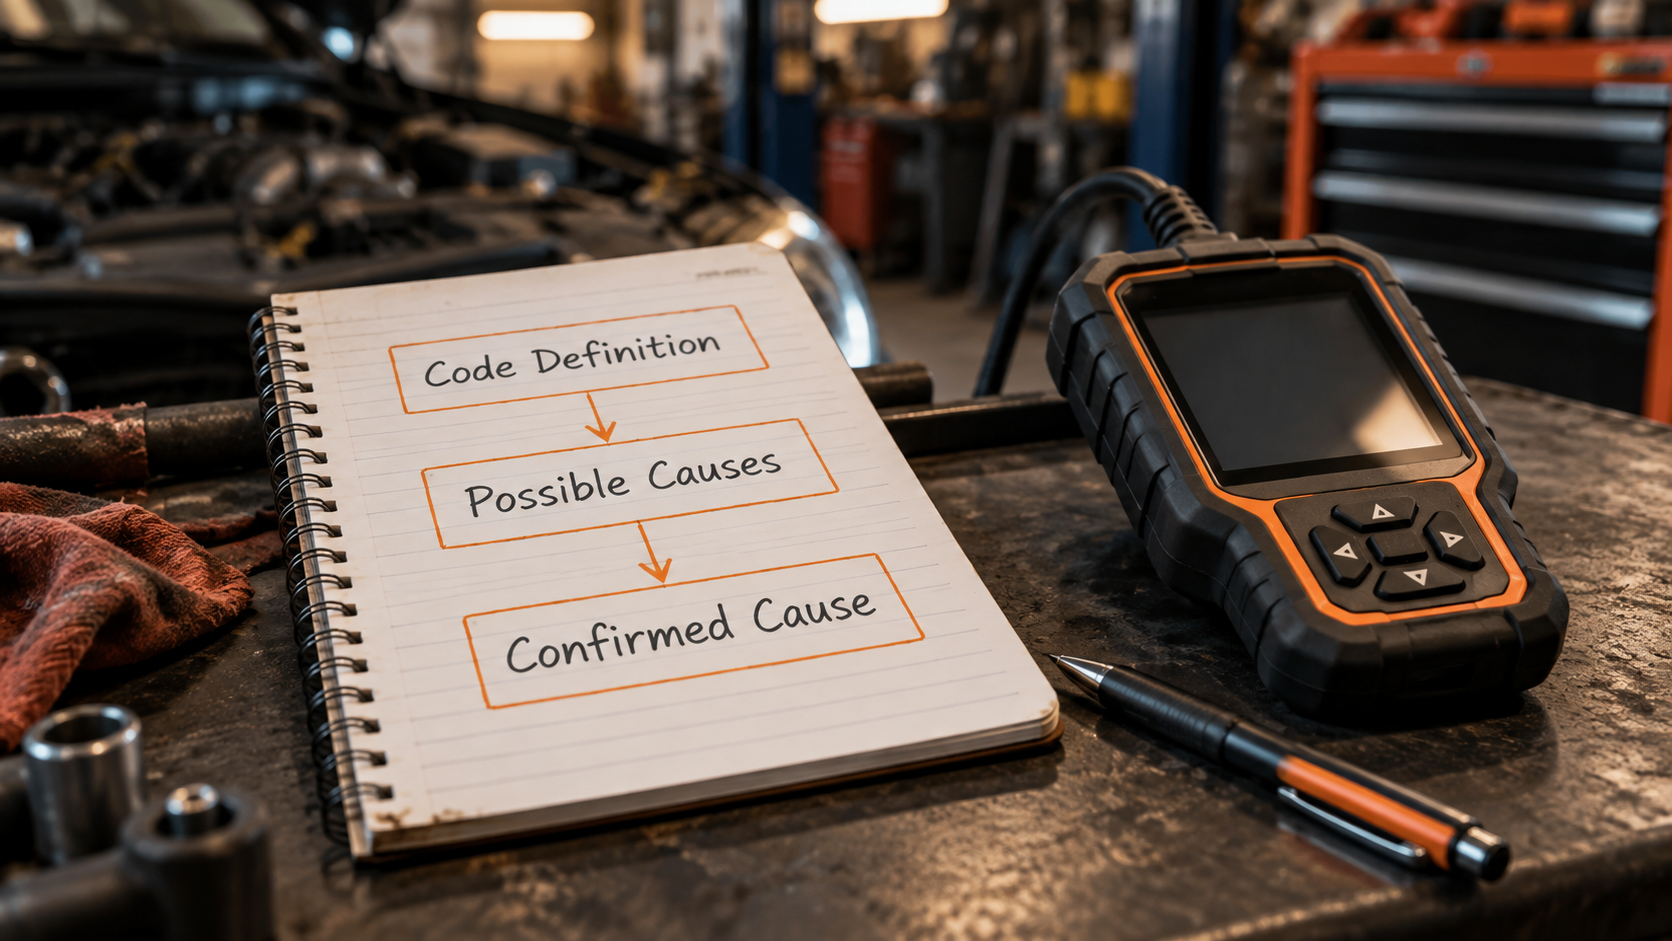
Separate three things: the code definition (what condition was detected?), possible causes (what faults could create that condition?), and confirmed cause (what testing proves is wrong on this vehicle?).
These are not interchangeable. If you need the full explanation, read OBD2 Codes Explained: How to Read Diagnostic Trouble Codes and Can an OBD2 Scanner Tell You Exactly What’s Wrong With Your Car?
Step 5: Check Whether the Code Is Generic or Vehicle-Specific
Generic emissions-related OBD information is standardized. But enhanced manufacturer-specific diagnostics can add much more vehicle-specific information.
Make sure the definition and diagnostic procedure you use apply to the exact code, make, model, year and engine/configuration where relevant. A generic internet description may be insufficient for a manufacturer-specific fault. See Generic vs Manufacturer-Specific OBD2 Codes: What’s the Difference?
Step 6: Classify the Urgency Before Continuing to Drive
Not every code has the same risk.
Pay attention to warning-light behavior, drivability symptoms, overheating, oil-pressure warnings, brake/ABS warnings, airbag/SRS warnings, severe misfire or shaking, smoke or unusual smells, loss of power, and abnormal noises.
A scan tool does not replace a safety decision. If the vehicle has severe symptoms or a safety-critical warning, stop treating the issue as a casual code-clearing exercise and obtain appropriate professional assistance.
Step 7: Research the Exact Fault, Without Turning Search Results Into a Diagnosis
Good research can identify system operation, known failure patterns, required test procedures, wiring information, technical service information and likely causes.
But “most common fix” is still not proof. Use common failures to decide what to test first, not what to replace first.
Step 8: Perform the Simple Visual Checks
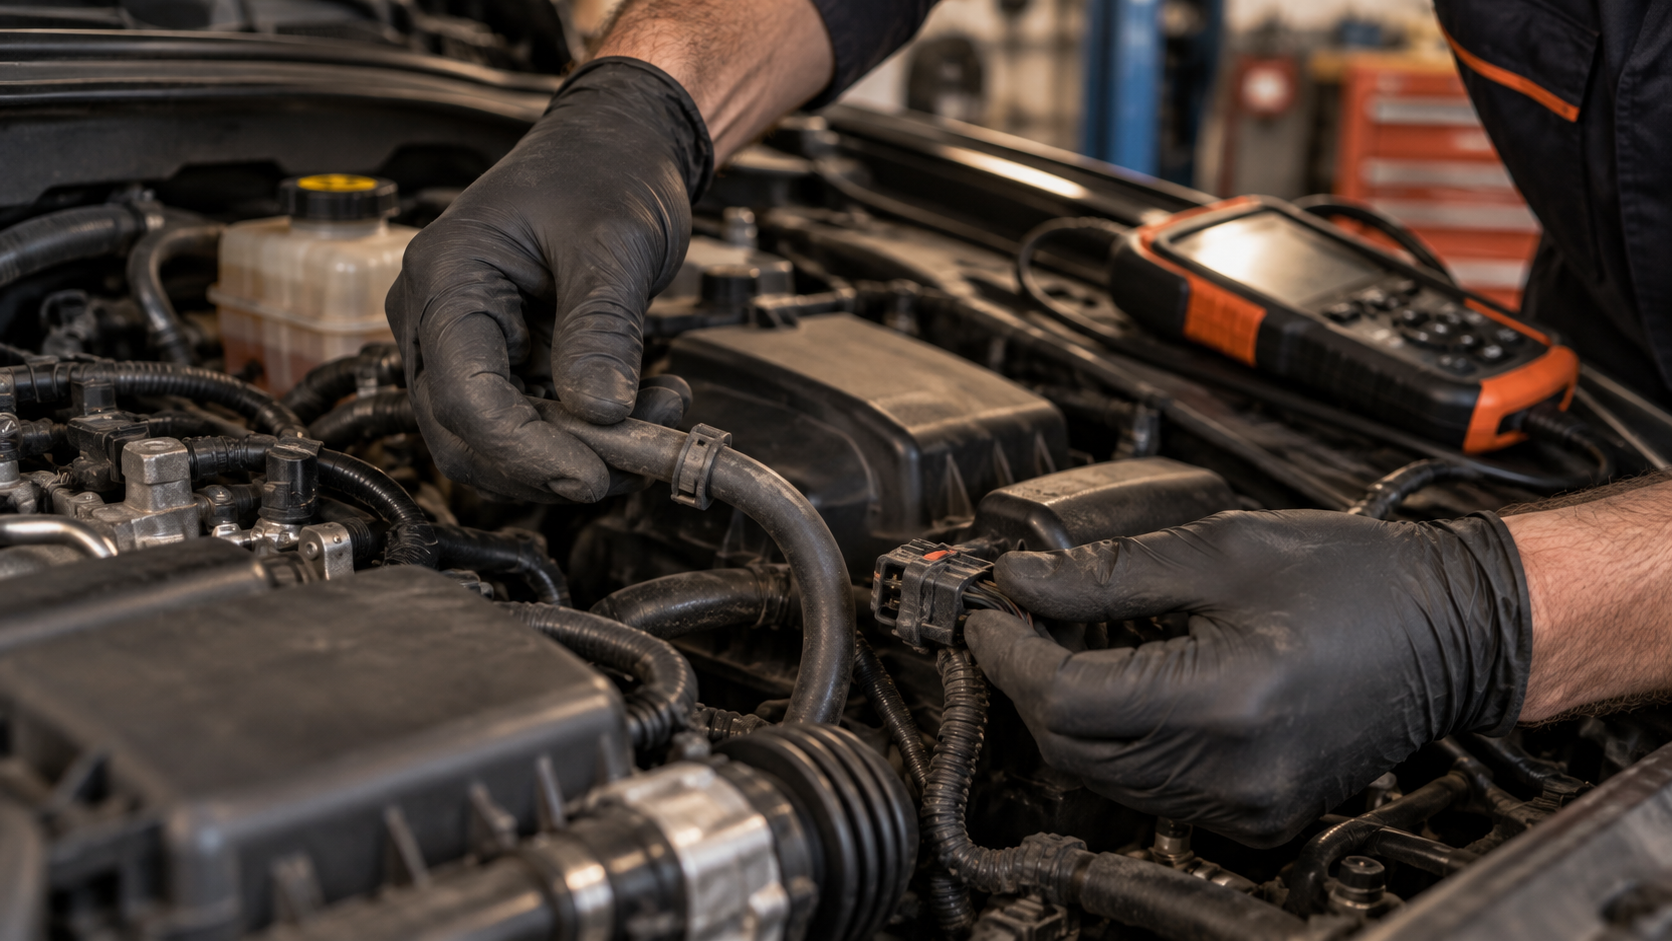
Before advanced testing, inspect what you can safely inspect. Depending on the code, that may include loose connectors, damaged wiring, obvious vacuum hoses, corrosion, disconnected components, blown fuses where relevant, fluid level where appropriate and safe, and visible damage.
A simple physical problem can create an electronic fault code. Do not skip the basics because the scanner looks sophisticated.
Step 9: Use Live Data to Test the Story
If your scanner supports relevant live data, compare what the vehicle is reporting with what should plausibly happen under the test conditions.
Questions may include: is the sensor responding? Does the value change logically? Are related PIDs telling the same story? Does the fault appear only under certain conditions?
Live data is most useful when you begin with a hypothesis. Do not collect 50 graphs simply because the scanner can display them. For the detailed method, continue to How to Read OBD2 Live Data.
Step 10: Use Enhanced Diagnostics When the Fault Is Outside Basic OBD2
Basic generic OBD2 focuses on legislated emissions-related diagnostic information. If the fault involves systems such as ABS, SRS/airbag, body control, electronic parking brake, steering or other manufacturer-specific modules, you may need a scanner with appropriate enhanced/full-system coverage.
If your current scanner cannot access the module, the absence of information does not prove that the module has no fault. See What Does Full-System Diagnostics Mean on a Scan Tool?
Step 11: Use Active Tests When They Actually Help
A bidirectional scanner can command supported components or functions on supported vehicles. That can help separate possibilities.
For example, a technician may command a component and observe whether it responds, whether related data changes, and whether power/ground/control behavior is plausible.
But a failed active test is not always the end of diagnosis. The cause may still involve wiring, power, ground, communication, the actuator, or mechanical conditions. See What Is Bidirectional Control on a Scan Tool? Active Tests Explained.
Step 12: Test Before Replacing Parts
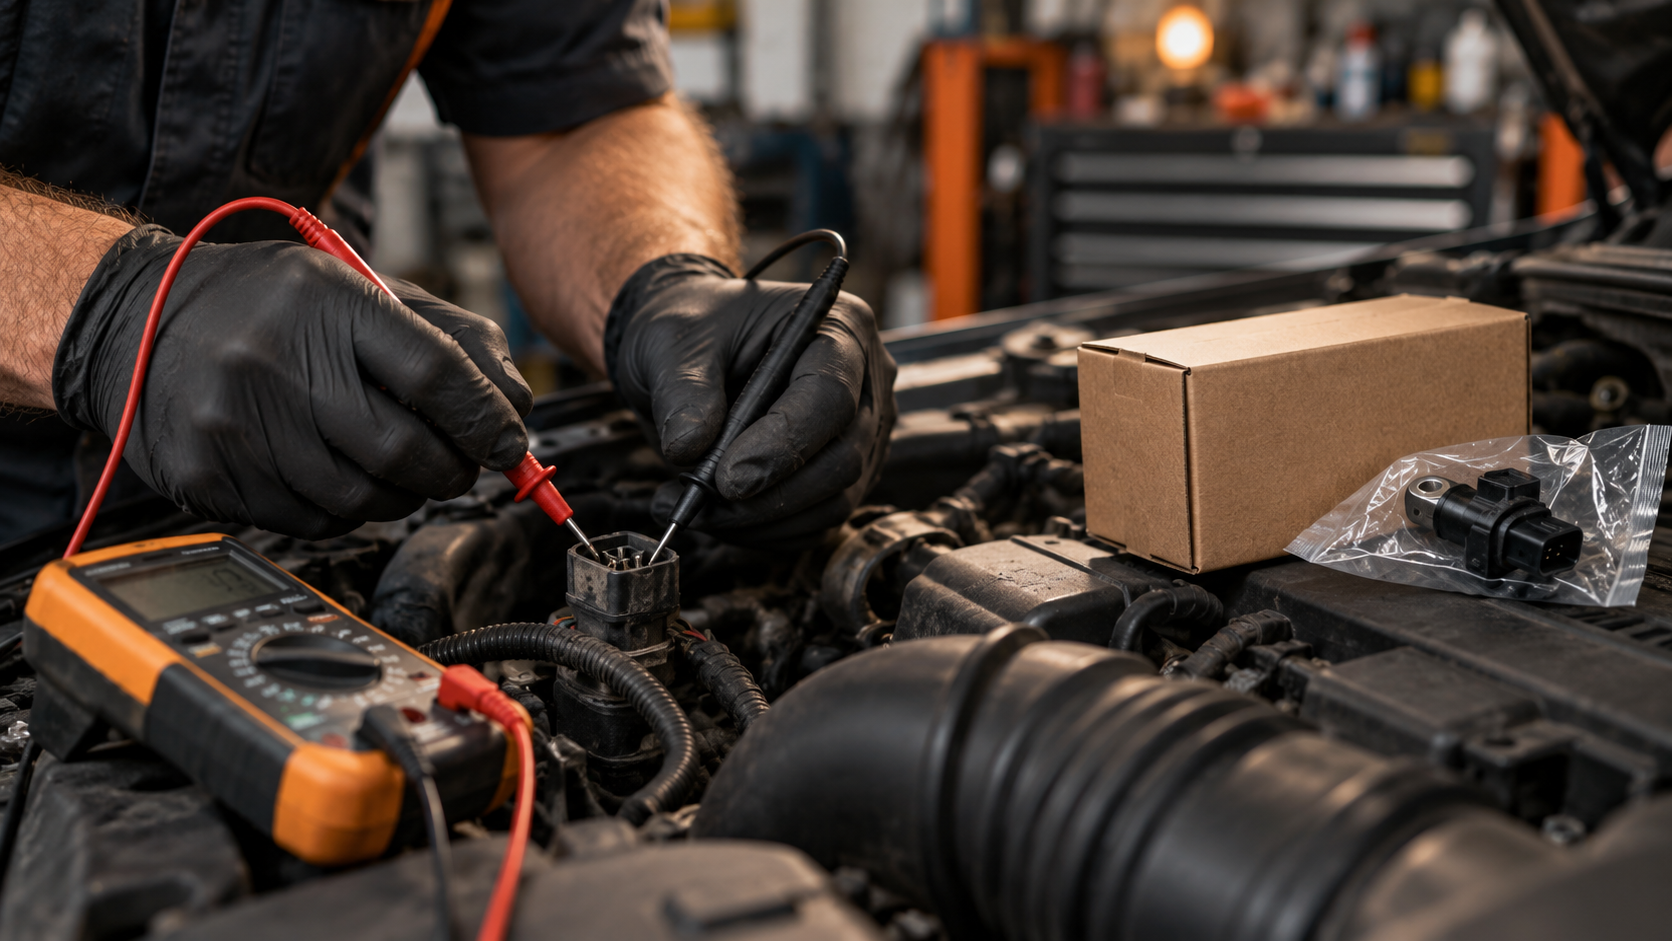
This is the most important habit.
If the suspected cause can be checked with visual inspection, a multimeter, pressure/vacuum testing, smoke testing, live data, an active test, or another specified procedure, test it where appropriate before buying the part.
The goal is to move from possible cause to evidence-supported cause.
Step 13: Repair the Confirmed Problem
Once evidence supports the cause, perform the appropriate repair. That may mean repairing wiring, cleaning/fixing a connection, replacing a failed component, correcting a leak, performing a service procedure, or carrying out another manufacturer-specified repair.
Follow appropriate service information and safety procedures. If the repair is beyond your tools, training or safe working conditions, use a qualified technician.
Step 14: Clear Codes at the Appropriate Point
Clearing codes can be useful after diagnostic information has been saved, the problem has been investigated, the repair has been performed, and you are ready to verify the result.
Do not use “Clear Codes” as the first diagnostic step merely to see whether the light stays off. Clearing the warning does not repair the cause.
Step 15: Verify the Repair
A repair is not finished when the part is installed. Verify it.
Depending on the fault: rescan the vehicle; confirm relevant codes are cleared/absent as appropriate; check live data; repeat the operating conditions that originally triggered the fault where safe; confirm the symptom is gone; and monitor whether the code returns.
For emissions-related faults, readiness monitors may need time and appropriate drive conditions to run again after codes are cleared or power is interrupted. Do not confuse “light is off right now” with “repair is confirmed.”
What If the Code Comes Back?
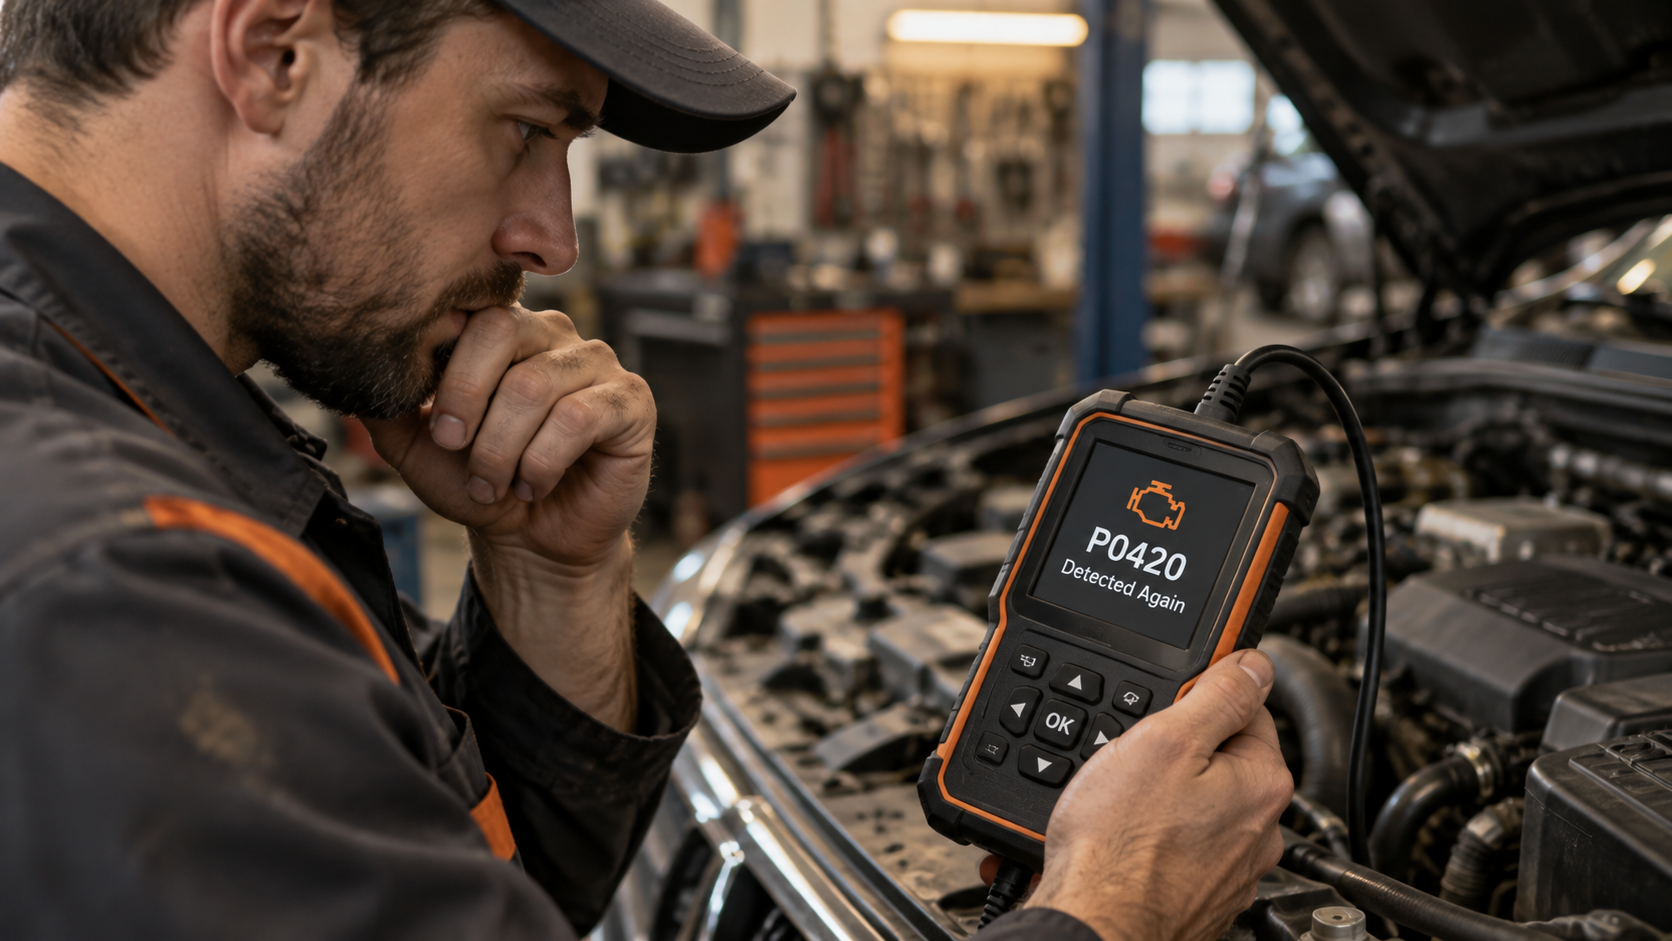
A returning code is useful evidence.
Ask: did the same code return? Did it return immediately or after driving? Under the same conditions? Are new codes present? Was the suspected cause actually tested? Was the repair completed correctly? Is there another cause upstream or downstream?
Do not automatically replace the same part again. Return to the evidence.
What If the Code Does Not Come Back?
That is encouraging, but verification still depends on the fault. Some diagnostic monitors need specific conditions before they run. An intermittent problem may also take time to recur.
Confirm relevant monitor status, symptom resolution, appropriate driving/operating conditions, and no returning fault.
Should You Clear a Code Just to See If It Comes Back?
Sometimes clearing and retesting can be part of a diagnostic strategy. But it should be deliberate.
Before clearing: save the DTC, save freeze frame, save useful data, and understand what evidence may be lost. Then know what conditions you are trying to reproduce.
Randomly clearing codes without recording information can make diagnosis harder.
What About Permanent Codes?
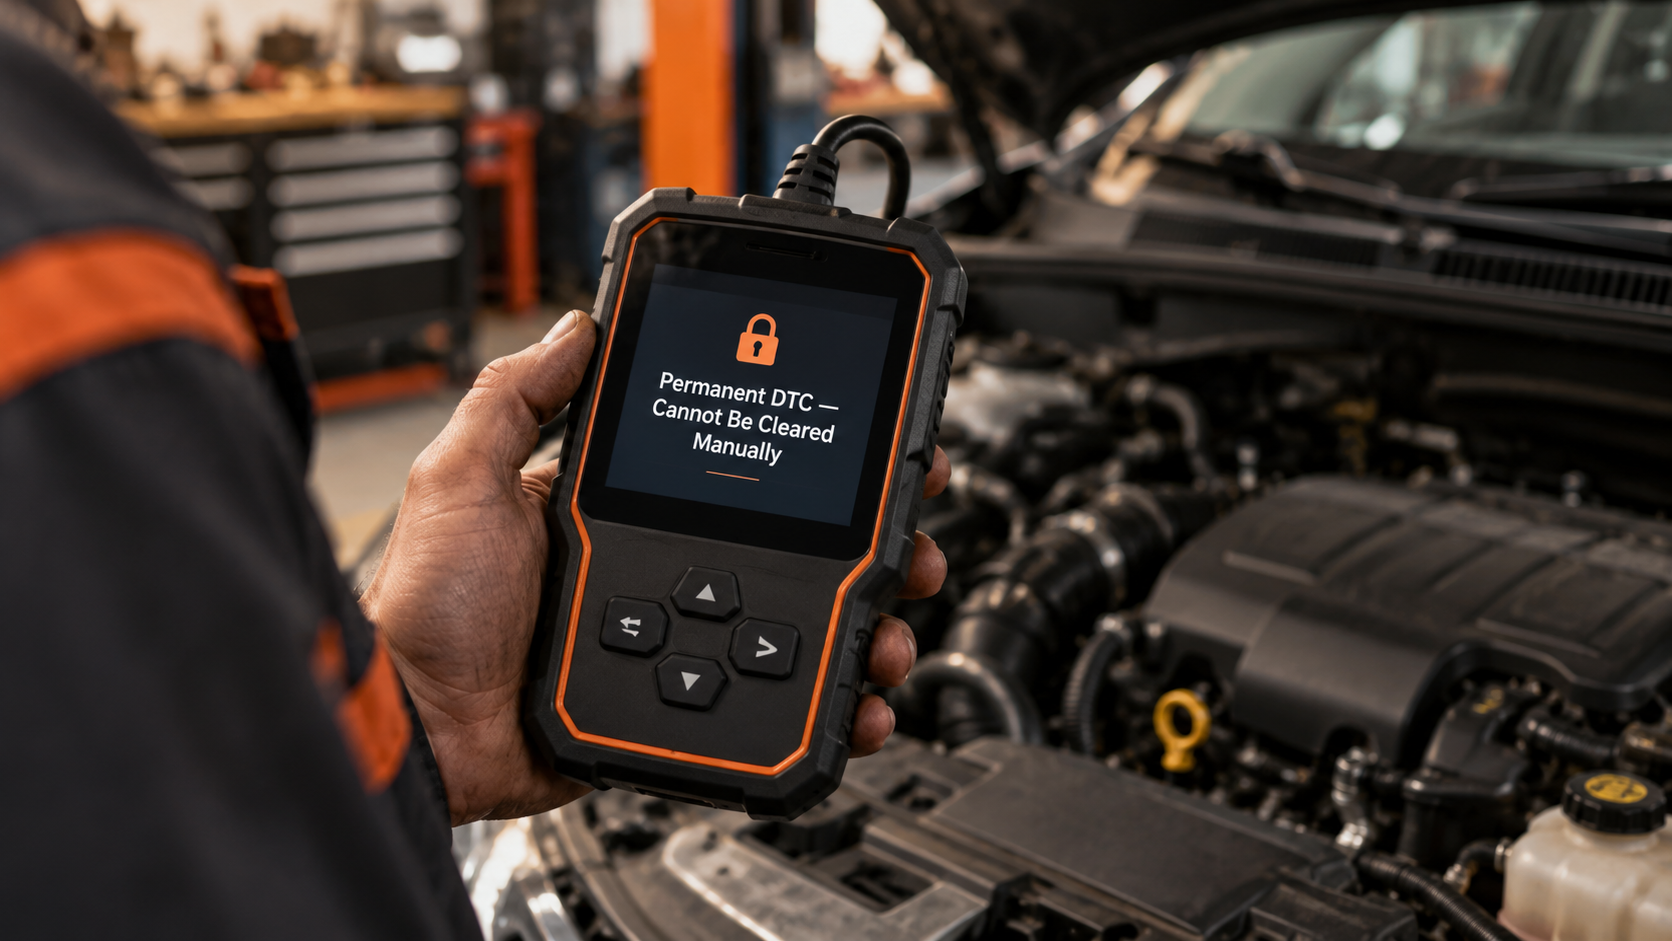
Do not assume every displayed code can simply be erased on command. Modern OBD systems can distinguish different DTC states/categories, and some emissions-related diagnostic information is designed to reflect whether the vehicle has subsequently demonstrated that the fault condition is no longer present.
The practical rule for a consumer article is simple: fix the cause and let the vehicle’s diagnostic logic verify the repair; do not treat code clearing as a substitute for repair.
When Should You Stop DIY Diagnosis?
Stop and seek qualified help when the problem affects braking or steering safety, SRS/airbag work is involved and you lack proper procedures, high-voltage hybrid/EV systems are involved, the vehicle is overheating or has critical pressure warnings, severe drivability makes continued operation unsafe, programming/coding procedures exceed your capability, you need specialized test equipment, evidence is contradictory, or you are about to replace an expensive component without confirmation.
Knowing when not to continue is part of good diagnosis.
Common Mistakes After Reading a Trouble Code
Mistake 1: Clearing it immediately. You may lose useful evidence.
Mistake 2: Replacing the component named in the description. The component may be only one possible cause.
Mistake 3: Ignoring other codes. Related faults can change the diagnosis.
Mistake 4: Ignoring freeze frame. You lose context about when the fault occurred.
Mistake 5: Trusting the most common internet fix. Common is not confirmed.
Mistake 6: Assuming no current light means the repair worked. Some monitors need time to rerun.
Mistake 7: Treating a scanner as the only diagnostic tool. Diagnosis can require inspection, measurements and mechanical testing.
Quick Post-Code Checklist
- Save the exact code.
- Save freeze frame and scan data.
- Record all related codes.
- Understand the code definition.
- Check vehicle-specific information.
- Assess safety/urgency.
- Inspect obvious causes.
- Use live data or enhanced tests where useful.
- Test the suspected cause.
- Repair what the evidence supports.
- Clear codes at the appropriate point.
- Rescan and verify.
FAQ
Should I clear a code immediately after scanning?
Usually not before saving the code and useful supporting information. Clearing diagnostic information can remove evidence you may need.
Does clearing a code fix the problem?
No. It resets/clears diagnostic information where supported; it does not repair the physical cause.
Should I replace the part named in the code?
Not automatically. The code describes a detected fault condition. Confirm the cause before replacing parts.
What should I record before clearing?
At minimum, record the exact code. Where available, also save freeze frame, code status, module, related codes and relevant scan data.
What if several codes appear?
Save all of them. They may be related, and the pattern can be diagnostically useful.
Can I keep driving after getting a code?
It depends on the fault and symptoms. Safety-critical warnings, overheating, severe drivability problems and other serious conditions require a different response from a minor stored emissions fault.
What if my scanner cannot read the ABS or airbag module?
You may need enhanced/full-system diagnostic coverage. Basic generic OBD2 access does not guarantee access to every vehicle module.
Should I use live data after finding a code?
When relevant, yes. Live data can help test a diagnostic hypothesis, but it must be interpreted in context.
Why did the code return after I cleared it?
Because the underlying fault may still exist, the repair may not have solved it, or the diagnostic conditions were met again. Diagnose the cause rather than repeatedly clearing the code.
How do I know the repair worked?
Verify the symptom, rescan, review relevant data and allow applicable monitors to run under appropriate conditions.
The Bottom Line
Finding a trouble code is not the finish line. It is the point where diagnosis becomes focused.
Remember: save → classify → understand → inspect → test → repair → verify.
Do not erase evidence before you use it. Do not turn a code description into a shopping list. And do not call a repair successful until the vehicle has been properly checked afterward.
If you are unsure why a code is not automatically a diagnosis, read Can an OBD2 Scanner Tell You Exactly What’s Wrong With Your Car?
If you need deeper help interpreting sensor information, continue to How to Read OBD2 Live Data.
If you are choosing your first scanner, see the Best OBD2 Scanners for Beginners; for deeper repairs, the Best OBD2 Scanners for DIY Mechanics.