Knowledge Hub
How to Use an OBD2 Scanner: Step-by-Step Guide

The physical part of using an OBD2 scanner is usually easy.
Find the diagnostic port. Plug in the tool. Establish communication. Run the scan.
The part that matters most comes next.
A scanner can show you trouble codes and other diagnostic information, but that information is evidence, not automatically the diagnosis.
If you erase codes too early, ignore freeze-frame information or replace the first part mentioned in a code description, you can make diagnosis harder rather than easier.
This guide walks through the complete beginner workflow, from connecting the scanner to deciding what to do with the information it retrieves.
Before You Start: What You Need
For a basic scan, you need: the vehicle; a compatible OBD2 scanner or adapter; the scanner’s app if it is phone-based; enough battery power in the vehicle to complete the scan; and the scanner instructions when its procedure differs from the general workflow.
If the vehicle has an obvious electrical problem, very low battery voltage, damaged diagnostic connector or other abnormal condition, deal with that appropriately before assuming the scanner itself is the problem.
Also remember that standard OBD2 compatibility is not the same thing as enhanced diagnostic coverage. A tool may communicate with the vehicle’s standardized engine/emissions OBD system without supporting every ABS, SRS, transmission, body, service, active-test or coding function on that vehicle. If compatibility is uncertain, see Will Any OBD2 Scanner Work With My Car? OBD2 Compatibility Explained.
Step 1: Make Sure the Vehicle and Scanner Are Appropriate
Before plugging anything in, confirm that the scanner is intended for the vehicle and the diagnostic function you want to perform.
For a basic Check Engine scan on a U.S.-market OBD2 vehicle, a compliant generic OBD2 scanner can provide standardized regulated diagnostic access.
But advanced functions are different. If your goal is to diagnose ABS, diagnose airbags/SRS, access transmission modules, perform service resets, command components with bidirectional controls, or code or program modules, do not assume that a product supports those functions merely because “OBD2 scanner” appears on the box. Verify the exact vehicle and required function. If you’re wondering whether any of this carries real risk to the vehicle, see Can an OBD2 Scanner Damage My Car?
Step 2: Locate the OBD2 Port
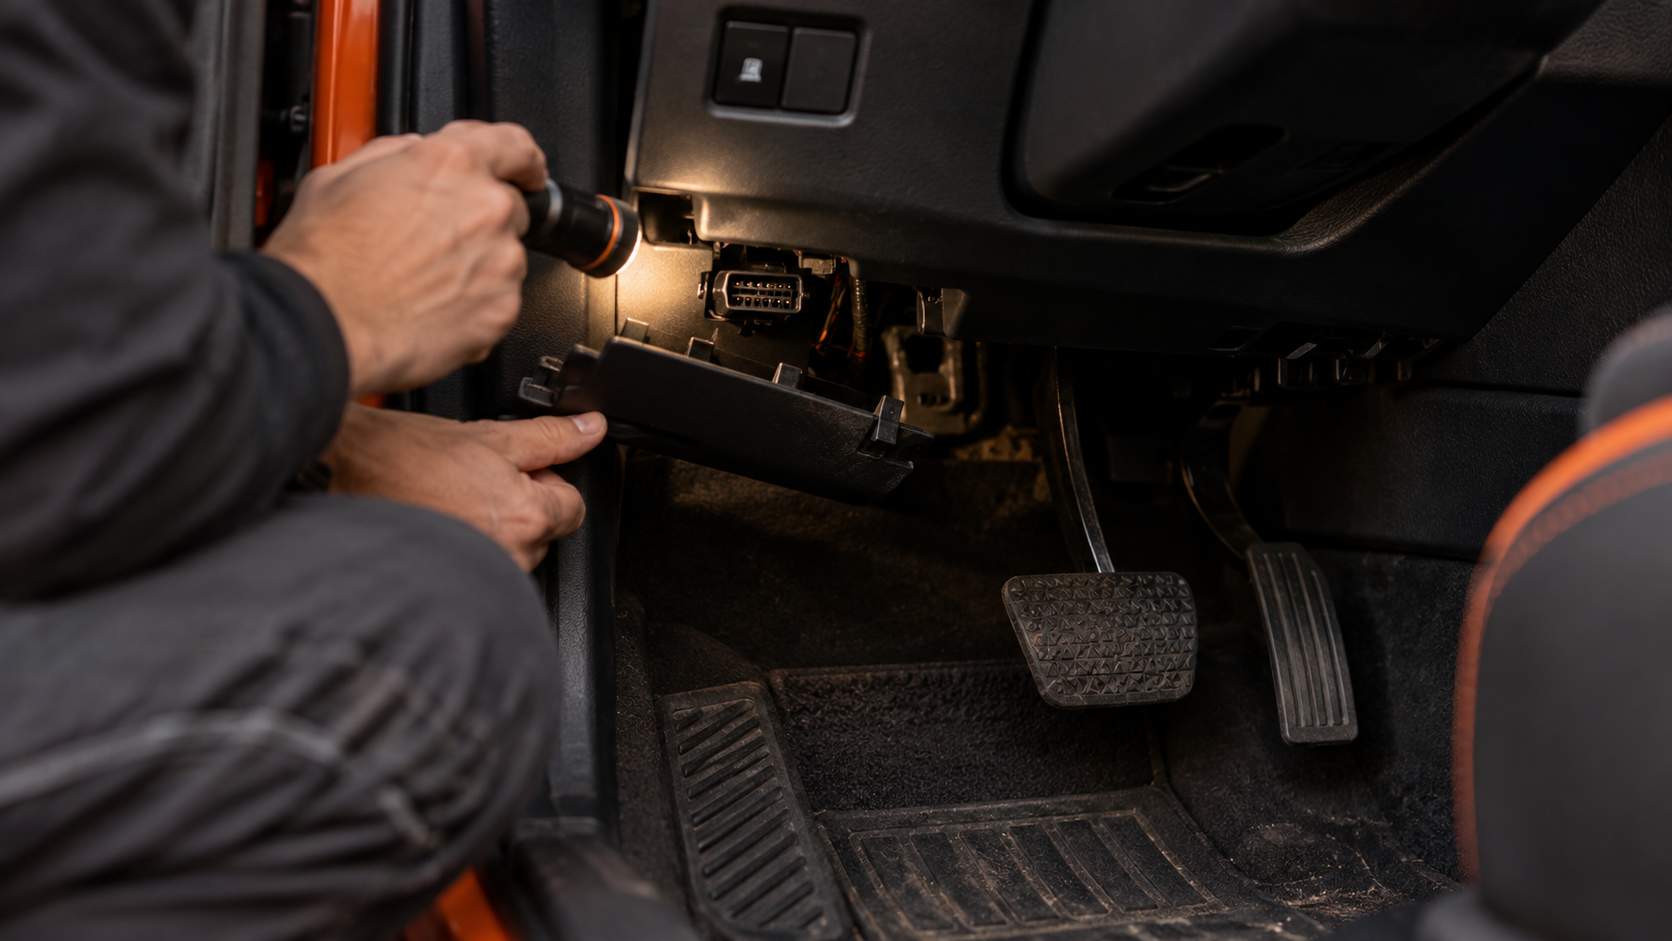
The scanner connects to the vehicle through the diagnostic connector, commonly called the OBD2 port, OBD-II connector, Data Link Connector, or DLC.
The familiar OBD2 DLC is a 16-position connector. On passenger vehicles it is normally located in the driver’s compartment, commonly under or around the dashboard near the steering area. But the exact position varies: it may be visible below the dashboard, behind a small trim panel or cover, near the center console, or slightly farther back in the driver’s footwell.
If you cannot find it, check reliable documentation for the exact vehicle. Do not force the scanner plug into a connector merely because it looks similar.
Step 3: Connect the Scanner
For a wired handheld scanner, insert the scanner’s diagnostic connector into the vehicle DLC.
For a Bluetooth or Wi-Fi scanner, insert the adapter into the DLC and follow the manufacturer’s pairing/app instructions.
Many basic scanners receive power through the diagnostic connector and will power up once connected. Others have their own battery or different startup behavior.
The plug is keyed to fit correctly. Do not force it. If the connector does not seat normally, stop and inspect the plug and DLC for alignment, obstruction or damage.
Step 4: Set the Ignition State Required by Your Scanner
This is where overly simple tutorials can create confusion.
There is no good reason to memorize one ignition instruction and apply it blindly to every scanner function.
For many basic code-reading procedures, the vehicle is placed in key on, engine off condition so the modules are awake and the scan tool can communicate. But some scanners and diagnostic functions can be used with the engine running, and certain tests or live-data procedures require it.
For push-button-start vehicles, the method for reaching ignition-on/engine-off mode also varies.
Therefore: follow the instructions for the exact scanner, vehicle and function you are using.
If the engine must be running for a test, make sure the vehicle is in a safe, well-ventilated location and follow all applicable safety instructions. Do not run an engine in an enclosed space where exhaust gases can accumulate.
Step 5: Let the Scanner Identify the Vehicle and Establish Communication
Once the tool and vehicle are in the required state, allow the scanner to establish communication.
Depending on the scanner, it may detect the communication protocol automatically, read the VIN automatically, ask you to confirm the vehicle, require manual entry of vehicle information, present a general OBD2 menu, or perform an automatic system scan on enhanced tools.
Do not assume every scanner follows the same menu sequence. The important point is that the tool must establish valid communication with the vehicle before it can retrieve diagnostic information.
If communication fails, do not repeatedly force the process without checking the basics. SCG covers that separately in Why Won’t My OBD2 Scanner Connect to My Car?
Step 6: Run the OBD2 Scan
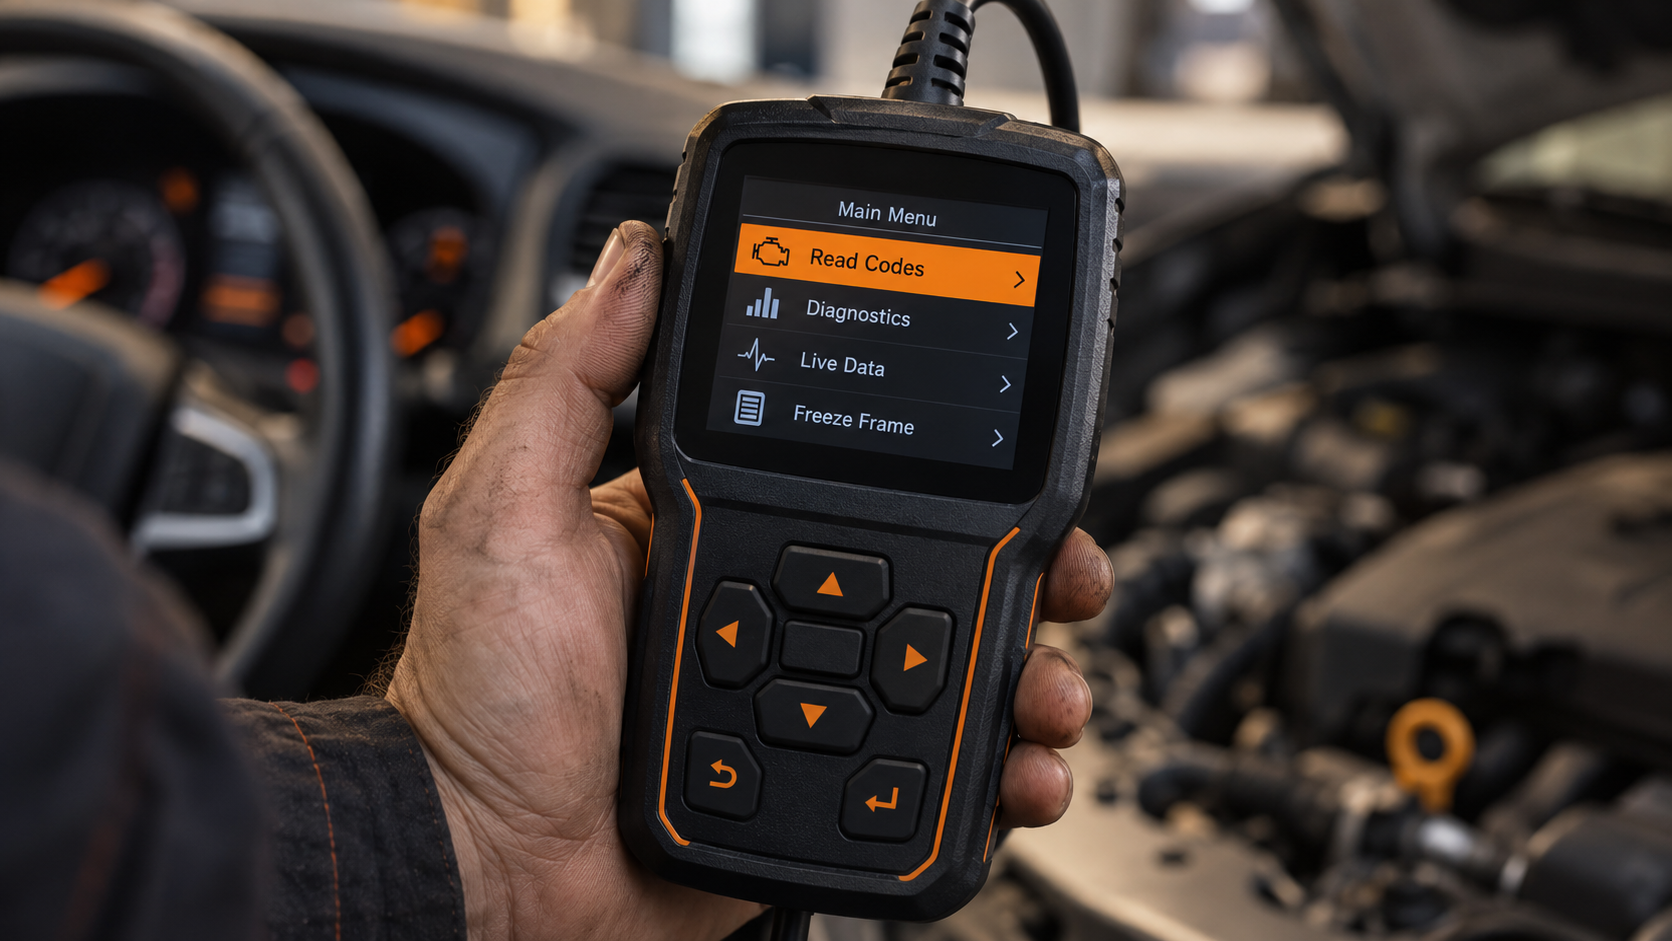
On a basic scanner, look for a menu option such as OBDII/EOBD, Read Codes, Diagnostics, Check Engine, Scan, or DTCs. The exact wording varies.
Start with the diagnostic information relevant to your problem. For a Check Engine light, that normally means standardized engine/emissions OBD information.
More advanced scanners may offer many modules and systems. Do not confuse a full-vehicle module scan with a generic OBD2 emissions scan; they are not necessarily the same thing.
Step 7: Read Every Code and Its Status
Do not stop after the first code. Record every DTC the scanner reports.
Also record its status when the scanner provides one, such as pending, confirmed/stored, or permanent. If the tool shows multiple modules, also note which module reported the fault.
The complete five-character DTC matters. For example, P0300 is not the same code as P0301. And a trouble code does not automatically identify a failed component.
For the complete code-reading system, see OBD2 Codes Explained: How to Read Diagnostic Trouble Codes.
Step 8: Save Freeze-Frame Data Before Clearing Anything
This is one of the most valuable habits a beginner can learn.
When certain OBD faults are stored, the vehicle can preserve a snapshot of operating conditions associated with the fault. This is called freeze-frame data. Depending on what the vehicle supports, it can include values related to engine RPM, vehicle speed, coolant temperature, calculated load, fuel-system status, fuel trim, airflow, manifold pressure and other diagnostic parameters.
Freeze frame can help answer: what was happening when the fault was recorded?
Before erasing anything: save the DTCs, save their status, save freeze-frame data, and take screenshots or photographs if necessary.
Why? Because clearing diagnostic information can erase evidence that could have helped you diagnose the problem.
Step 9: Check I/M Readiness
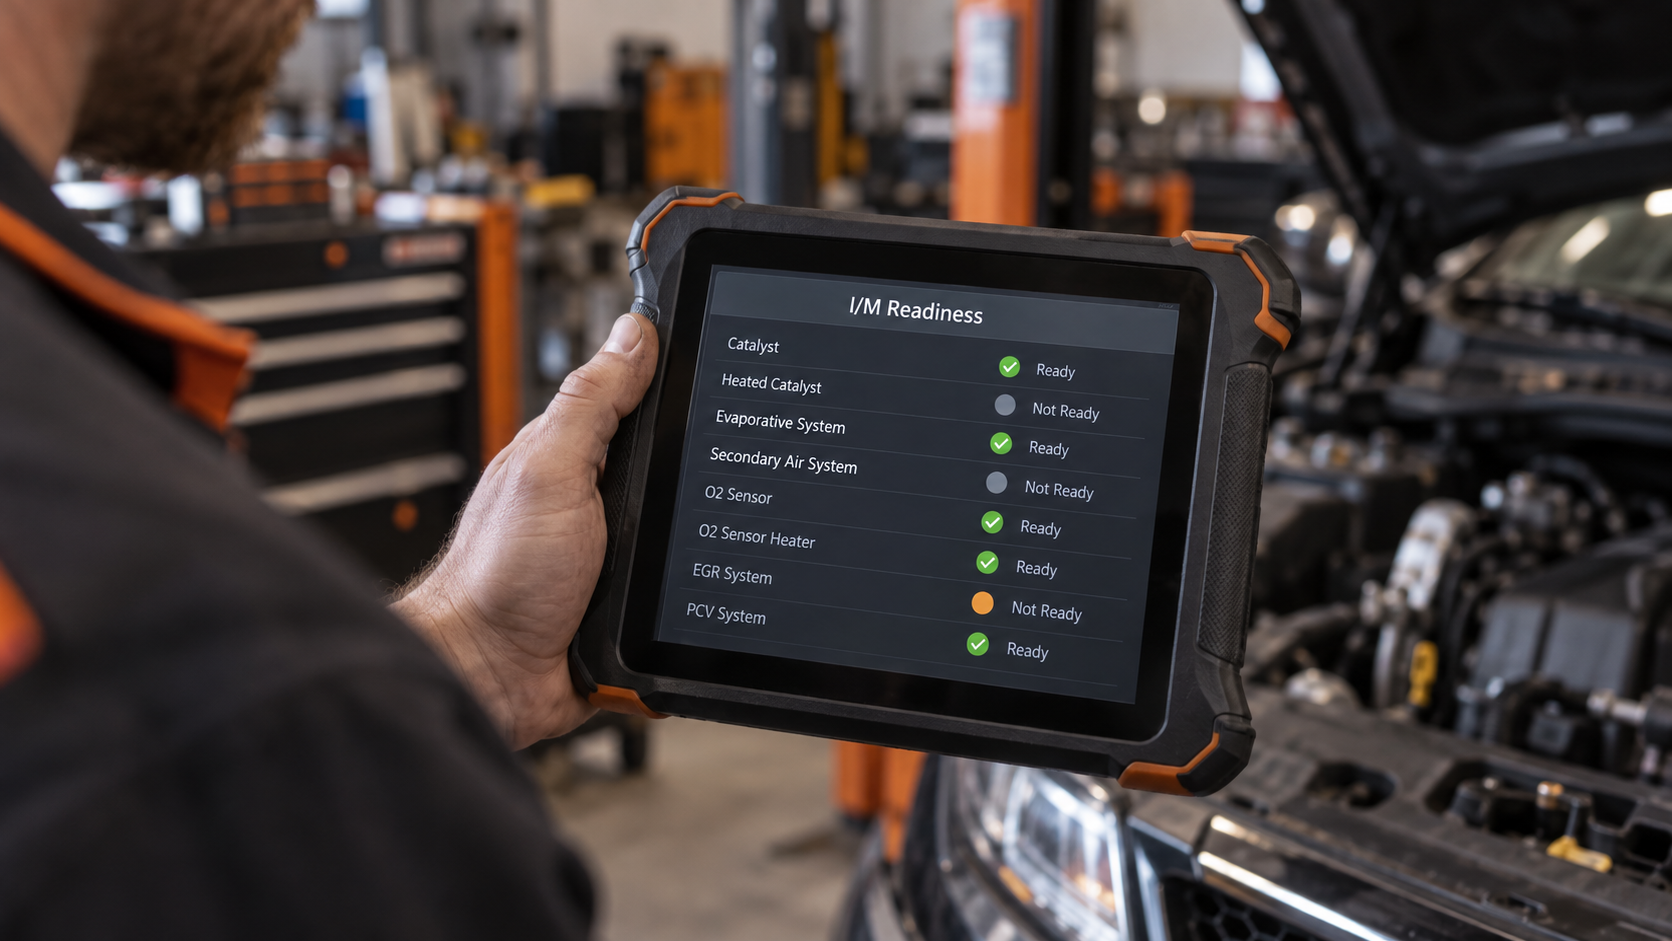
If your scanner has an I/M Readiness or Readiness Monitors function, check it before clearing codes, especially if an emissions inspection matters.
Readiness status tells you whether applicable onboard diagnostic monitors have completed their checks. Depending on the vehicle, you may see monitors related to systems such as catalyst, evaporative emissions, oxygen sensors, oxygen-sensor heaters, EGR/VVT or other applicable monitored systems. Not every vehicle supports the same set of monitors.
The important warning is this: clearing OBD diagnostic information can reset readiness monitors to a not-ready/incomplete state. That means erasing a code shortly before an emissions inspection can create a new problem even if the Check Engine light disappears.
The monitors generally need the appropriate operating conditions to run again. Do not assume that simply driving an arbitrary number of miles guarantees that every monitor will become ready. The required conditions depend on the vehicle and monitor.
Step 10: Review Relevant Live Data
If your scanner supports live data, you can view supported parameters while the vehicle is operating in the appropriate state. Examples can include engine RPM, coolant temperature, throttle position, calculated load, fuel trims, oxygen or air/fuel sensor information, intake-air information and vehicle speed.
But live data is not useful simply because numbers are moving on the screen. The values need context. You need to know what the PID represents, what operating condition the vehicle is in, what behavior is expected, and whether several values should be interpreted together.
For that reason, SCG covers this separately in How to Read OBD2 Live Data: PIDs, Fuel Trims, O2 Sensors and More.
Step 11: Interpret the Evidence, Don’t Guess the Failed Part
Suppose your scanner shows a DTC. The wrong question is: “Which part do I buy?” The better question is: “What conditions can cause the vehicle to set this code, and how do I test them?”
A useful diagnostic process can combine DTCs, code status, freeze-frame information, live data, symptoms, visual inspection, wiring information, electrical tests, mechanical tests and manufacturer service information.
A scanner reports what the vehicle’s diagnostic system detected. It does not necessarily tell you why it happened.
For a deeper explanation, see Can an OBD2 Scanner Tell You Exactly What’s Wrong With Your Car?
Step 12: Decide Whether You Should Clear the Codes
Most basic scanners provide an erase/clear function for supported diagnostic information. Do not press it automatically.
Clearing a DTC is not a repair. If the fault remains, the vehicle can detect the problem again and the code or Check Engine light can return. Clearing diagnostic information can also remove useful data and reset readiness status.
Before clearing, ask: Have I recorded every code? Have I saved freeze-frame information? Do I need this information for diagnosis? Is the vehicle about to undergo an emissions inspection? Has the actual problem been diagnosed or repaired? Do the scanner and vehicle procedures say clearing is appropriate at this stage?
If you are taking the vehicle to a technician and have not diagnosed it yourself, preserving the evidence may be more useful than presenting the technician with an empty fault memory.
Step 13: Verify the Repair
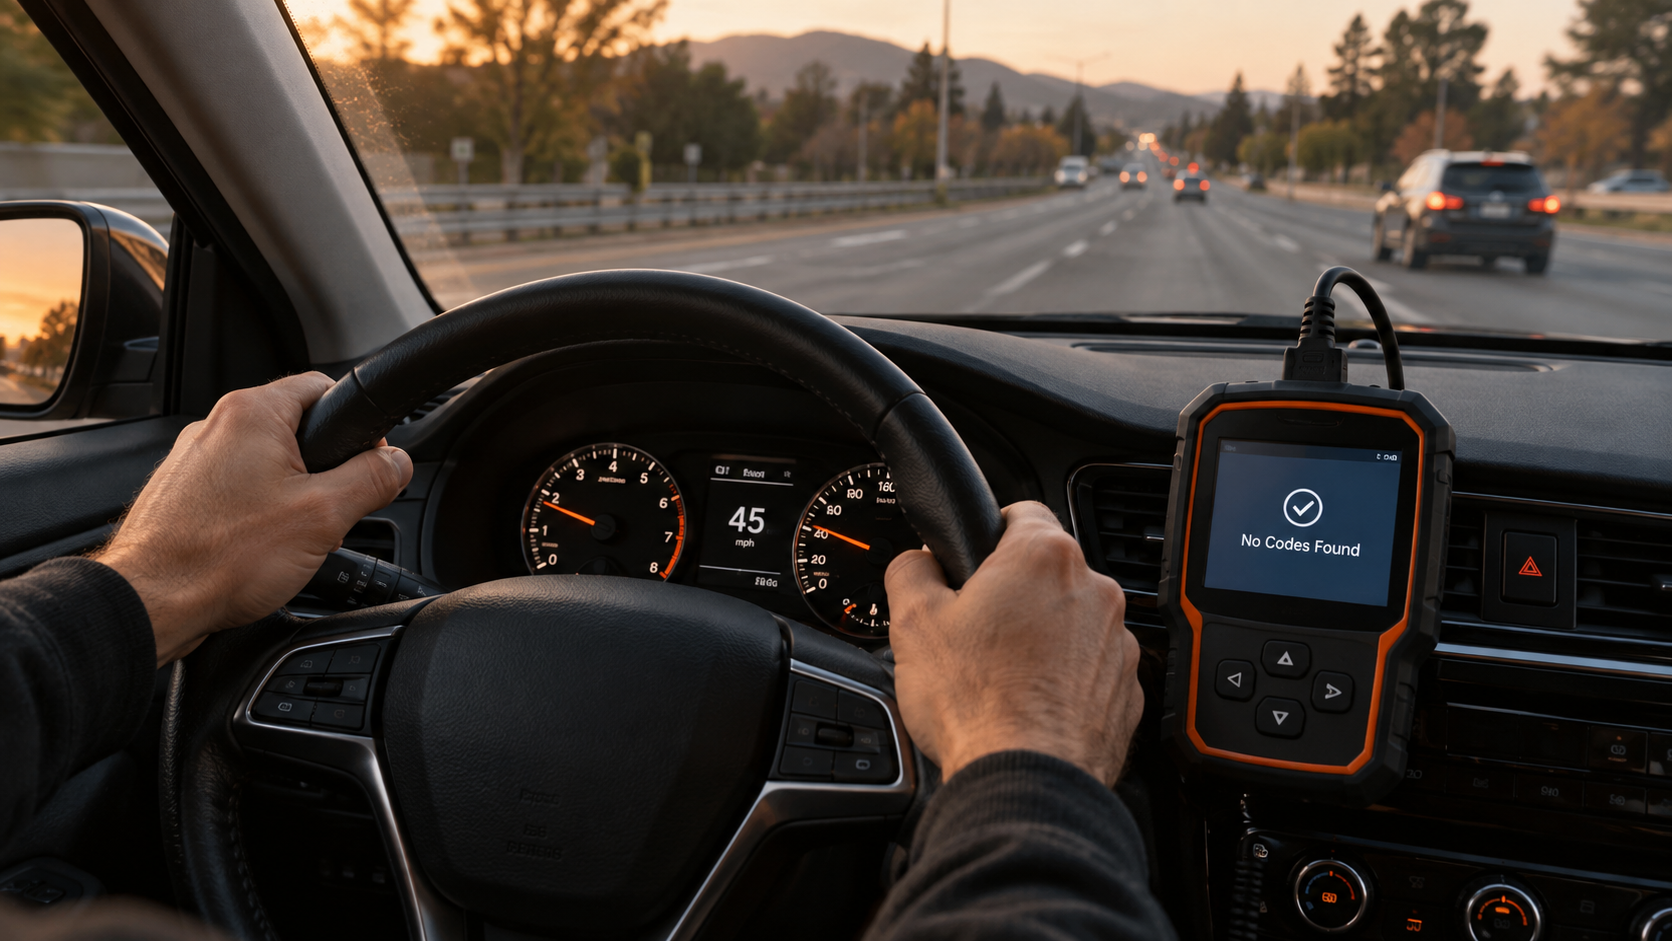
A repair is not verified simply because the scanner says “No Codes” immediately after memory has been cleared.
Verification means giving the relevant diagnostic system an opportunity to evaluate the condition again. Depending on the fault, this can involve operating the vehicle under appropriate conditions, checking whether the DTC returns, reviewing relevant live data, confirming symptoms are gone, confirming the relevant readiness monitor completes, and following a vehicle-specific verification or drive procedure.
Some faults can be evaluated quickly. Others require particular temperatures, loads, speeds, time periods or drive-cycle conditions. Use the correct service information for the vehicle when a specific verification procedure matters.
Step 14: Disconnect the Scanner Correctly
When you are finished, follow the scanner manufacturer’s shutdown/disconnection procedure.
For many wired code readers, a conservative general workflow is: finish the diagnostic session; exit active tests or special functions; switch the ignition off where the tool instructions call for it; disconnect the scanner carefully from the DLC.
Do not pull a wired connector out by yanking on the cable.
For Bluetooth adapters, follow the product instructions. Some are designed to remain installed; others may draw power or have usage/security considerations that make removal preferable when not in use. Do not assume all adapters behave identically.
Wired vs Bluetooth Scanner Workflow
The diagnostic logic is similar, but the connection method differs.
Wired scanner. Typical workflow: DLC → scanner powers/starts → ignition state → communication → scan. Advantages for beginners can include no Bluetooth pairing, no phone dependency, dedicated buttons/screen, and a straightforward physical connection.
Bluetooth scanner. Typical workflow: adapter into DLC → phone/app setup → Bluetooth or other wireless connection → vehicle communication → scan. Potential advantages include a larger phone interface, graphing, saved reports, and easier app-based explanations on some products. Potential disadvantages include phone compatibility, app/account requirements, pairing issues, and differences in subscription or software models.
If you are choosing between these formats rather than learning how to operate them, continue to SCG’s Best Bluetooth OBD2 Scanners and Best Standalone OBD2 Scanners That Don’t Require a Phone.
What If the Scanner Won’t Connect?
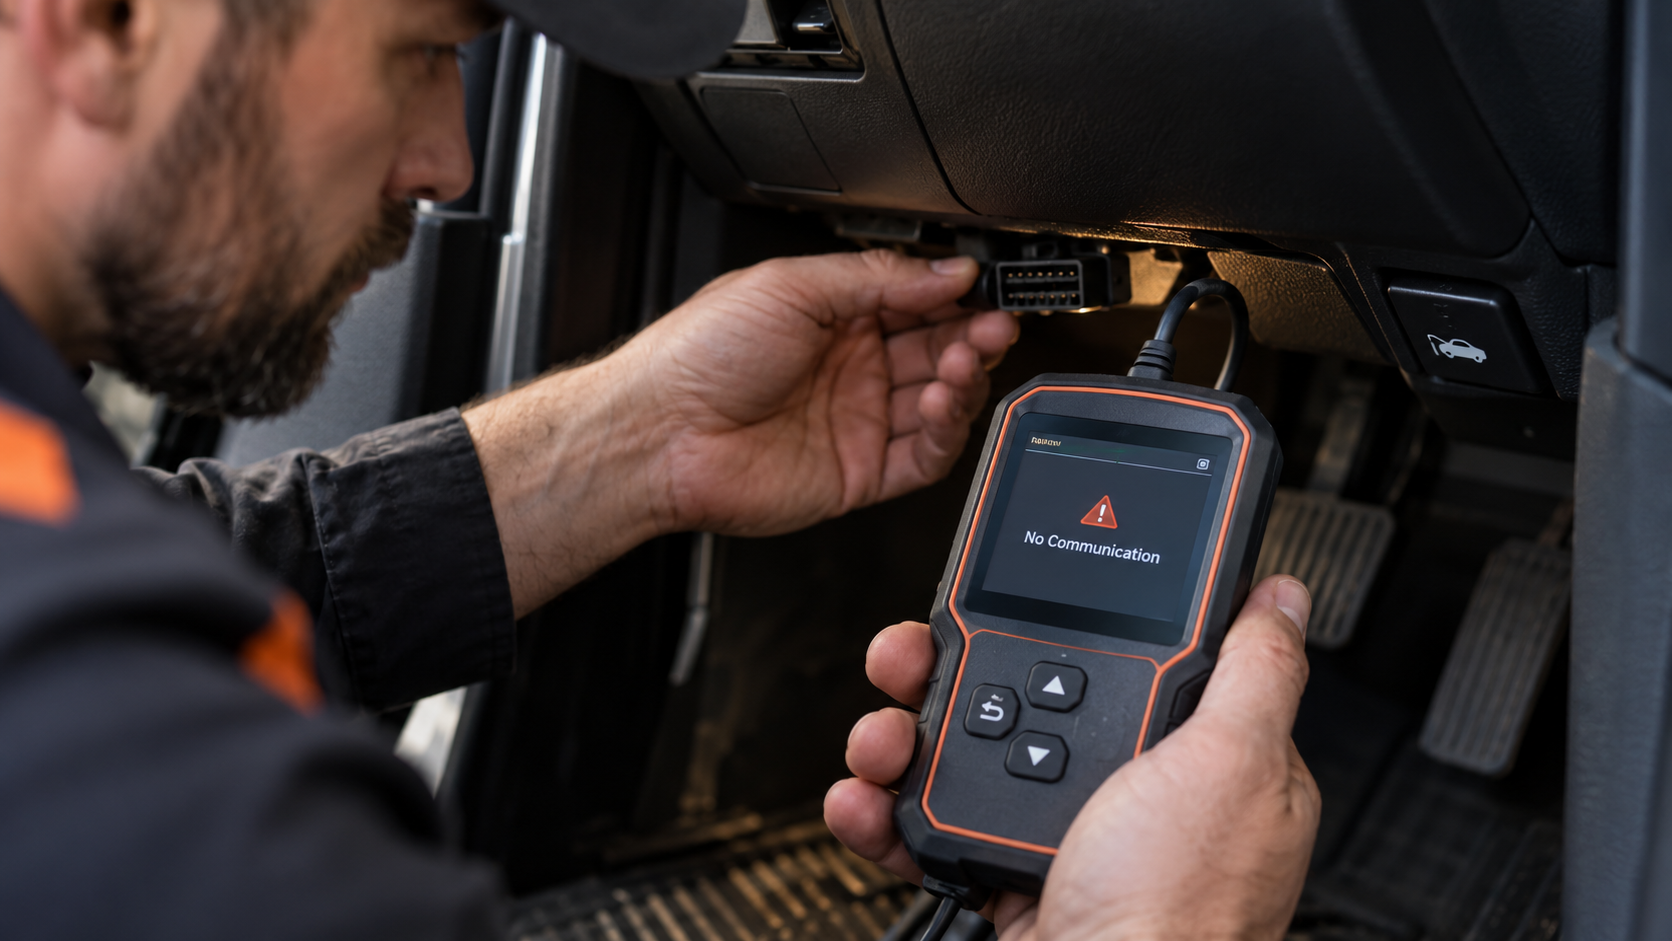
A no-communication message does not automatically mean the scanner is defective.
Possible areas to check include ignition state, scanner power, DLC connection, app pairing, vehicle compatibility, diagnostic-port power, damaged connector/pins, vehicle electrical issues, scanner software or setup, and whether you are trying to access an unsupported enhanced system.
Do not randomly probe connector pins or apply voltage to the DLC unless you have the correct technical information and know what you are doing.
For the complete troubleshooting workflow, see Why Won’t My OBD2 Scanner Connect to My Car?
Common Beginner Mistakes
Mistake 1: Clearing the code immediately. You can lose useful diagnostic context and reset readiness information. Read and save first.
Mistake 2: Replacing the part named in the code description. A code identifies a detected condition, not necessarily the failed component. Diagnose before replacing.
Mistake 3: Reading only the first code. Multiple codes and their relationship can matter. Record all of them.
Mistake 4: Ignoring freeze-frame data. Freeze frame can show the conditions associated with the fault. Check it before erasing.
Mistake 5: Assuming “no codes” means “nothing is wrong.” A basic generic OBD2 scan does not guarantee access to every vehicle system or every type of fault.
Mistake 6: Assuming every OBD2 scanner does the same thing. Scanner capability varies dramatically. Basic standardized OBD access, enhanced system diagnostics, service functions, active tests, coding and programming are different capability levels.
Mistake 7: Running the engine in an unsafe location. If a diagnostic procedure requires the engine to run, use an appropriate ventilated environment and follow vehicle/tool safety instructions.
OBD2 Scanner FAQ
Do I plug the OBD2 scanner in with the car off?
The exact procedure depends on the scanner and vehicle. Many general workflows begin with the ignition off for connection, then switch to the required ignition state. Follow the instructions for your exact tool rather than treating one sequence as universal.
Does the engine need to be running to use an OBD2 scanner?
Not always. Many basic code-reading procedures can be performed with the ignition on and engine off. Live-data viewing and some diagnostic functions require the engine to run. Follow the scanner and vehicle procedure for the function you are performing.
Where is the OBD2 port?
It is normally in the driver’s compartment, commonly below or around the dashboard/steering area. Exact location varies by vehicle.
What should I write down when I scan the car?
At minimum: every complete DTC, code status, module if relevant, freeze-frame data, readiness status if relevant, and symptoms and conditions when the fault occurred.
Should I clear the Check Engine light after scanning?
Not automatically. First preserve the diagnostic information and understand why the code was set. Clearing the light does not repair the underlying fault.
Will clearing codes reset readiness monitors?
Clearing regulated OBD diagnostic information can reset readiness status, which may leave applicable monitors incomplete until they run again.
How long do I have to drive after clearing codes?
There is no reliable universal mileage answer. Different monitors and vehicles require different operating conditions. Use vehicle-specific information when emissions readiness needs to be restored.
Can an OBD2 scanner tell me exactly what is wrong?
It can provide valuable diagnostic evidence, but a code or data value does not automatically prove the root cause. Additional testing may be required.
Can I leave a Bluetooth OBD2 adapter plugged in?
That depends on the adapter and vehicle. Power consumption, sleep behavior, security and manufacturer instructions vary. Check the exact product documentation rather than assuming every adapter is safe to leave connected indefinitely.
The Bottom Line
The best way to use an OBD2 scanner is not: plug in → read code → erase code.
It is: prepare → connect → scan → save the evidence → interpret → diagnose → repair → verify.
Before clearing anything, preserve the complete codes, code status, freeze-frame information and any readiness data that may matter.
Then remember the central rule: the scanner tells you what the vehicle detected. Diagnosis determines why it happened.
If you need help understanding the DTC itself, continue to OBD2 Codes Explained: How to Read Diagnostic Trouble Codes.
If you already have a code and want the complete diagnostic decision process, continue to What to Do After Your OBD2 Scanner Finds a Trouble Code.
If your scanner cannot establish communication, go to Why Won’t My OBD2 Scanner Connect to My Car?